Creating a hydraulic hose assembly is a vital task in many industrial and mechanical settings, ensuring that hydraulic systems function smoothly and efficiently. These assemblies are crucial for transferring hydraulic fluid under pressure, enabling machinery to perform its tasks effectively. Understanding the process of making a hydraulic hose assembly can save time, reduce costs, and increase the longevity of your equipment.
Understanding the Components
Before diving into the assembly process, it's essential to understand the components involved in a hydraulic hose assembly. The primary elements include the hydraulic hose itself, fittings, and adapters. The hydraulic hose is made from reinforced rubber or thermoplastic materials, designed to withstand high pressure and temperature. Fittings are used to connect the hose to the hydraulic system, while adapters help in changing the fitting type or size.
Step-by-Step Assembly Process
The process of creating a hydraulic hose assembly involves several steps, each crucial for ensuring the assembly is safe and functional.
Step 1: Measure and Cut the Hose
The first step is to measure the required length of the hose. It's important to account for the additional length needed for fittings and any potential movement or flexing in the system. Once measured, use a hose saw or a sharp cutting tool to cut the hose to the desired length. Ensure the cut is clean and straight to avoid any issues during the assembly.
Step 2: Attach the Fittings
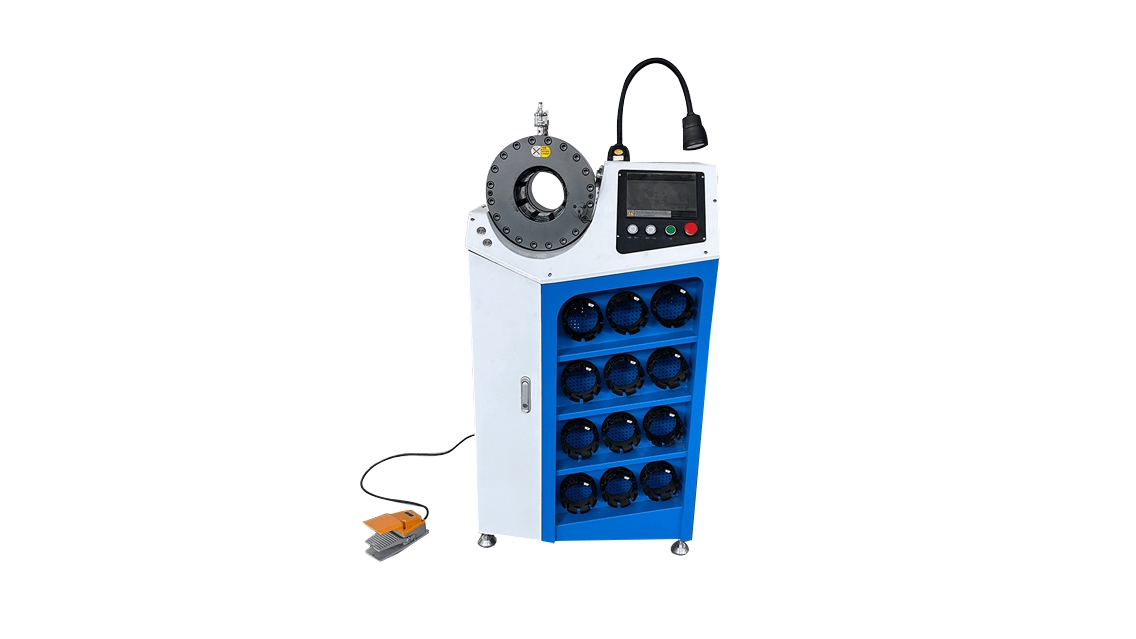
Next, select the appropriate fittings for your hydraulic hose assembly. The fitting type and size should match the system's requirements. Insert the hose into the fitting, ensuring it reaches the correct depth. Some fittings require crimping, which involves using a crimping machine to secure the fitting to the hose. This step is critical as improper crimping can lead to leaks or hose failure.
Step 3: Inspect the Assembly
After attaching the fittings, inspect the hydraulic hose assembly for any signs of damage or improper installation. Check for any visible gaps between the hose and fittings and ensure that the crimp is secure. A thorough inspection can prevent potential issues when the assembly is in use.
Testing and Installation
Once the hydraulic hose assembly is complete, it's essential to test it under pressure to ensure there are no leaks. Connect the assembly to a test rig, gradually increasing the pressure to the system's operating level. Observe the hose and fittings for any leaks or weaknesses.
After successful testing, the hydraulic hose assembly can be installed in the system. Ensure that the hose is routed correctly, avoiding sharp bends or kinks that could impede fluid flow or cause premature wear. Secure the hose with clamps or brackets as needed to prevent movement or vibration.
Conclusion
Mastering the process of making a hydraulic hose assembly is an invaluable skill for those working with hydraulic systems. By understanding the components and following a meticulous assembly process, you can create reliable and efficient assemblies. Regular inspection and maintenance of these assemblies can further extend their lifespan, ensuring your hydraulic systems continue to operate smoothly and safely.
Handanshi Kangmai Hydraulic Equipment Co., Ltd. is located in the east of Wangzhuang,on the Hanlin expressway. Our main products have 9 series and 50 types which contains hose crimping machine, hose cutting machine,hose skiving machine...